
01
Connect WordPress
Save a reusable publishing destination in Settings with a dedicated WordPress Application Password.
A polished, customer-facing guide for connecting WordPress, choosing a content workflow, and launching automations without revealing operator-only configuration.
Save a reusable publishing destination in Settings with a dedicated WordPress Application Password.
Pick feeds, URLs, keywords, preset niches, or Article Studio based on how much control you want.
Start in draft mode, review the output, then publish automatically when the workflow is ready.
FullAutoBlog combines reusable WordPress connections, AI article generation, and scheduled automations in one workflow so you do not have to rebuild the same setup every time.
Step by step
1. Connect WordPress in Settings
Save a verified WordPress site using an Application Password so future workflows can reuse it safely.
2. Choose a source
Pick feeds, URLs, keywords, or a preset niche depending on how you want ideas to enter the system.
3. Decide how content goes live
Draft mode keeps a human review step; Publish mode sends verified output live immediately.
The source type controls how future article ideas arrive in the system and how much editorial steering you keep.
Use RSS when you want the app to monitor sources continuously and convert new items into original articles.
URL rewrite flows fetch the source page, extract the main topic, and generate a fresh article based on that material.
Keyword workflows are best when you already know which subjects your site should publish on repeatedly.
Preset niches let you start from ready-made source bundles while choosing the niche inside the automation wizard.
WordPress sites are reusable publishing destinations. FullAutoBlog expects a WordPress Application Password, not your normal admin password, and verifies the connection when you save it.
Step by step
1. Open Settings
Use the Settings page to manage reusable WordPress destinations instead of entering credentials inside each automation.
2. Paste an Application Password
Create the password in WordPress under Users → Profile → Application Passwords, then paste it into FullAutoBlog.
3. Save and verify
The app checks whether WordPress accepts the connection before making it available for workflows.
Copy this config
WordPress connection checklist
Use this as a safe baseline when creating a reusable site connection.
Site URL: https://example.com
Username: publishing-bot
Password type: WordPress Application Password
Recommended role: Author or Editor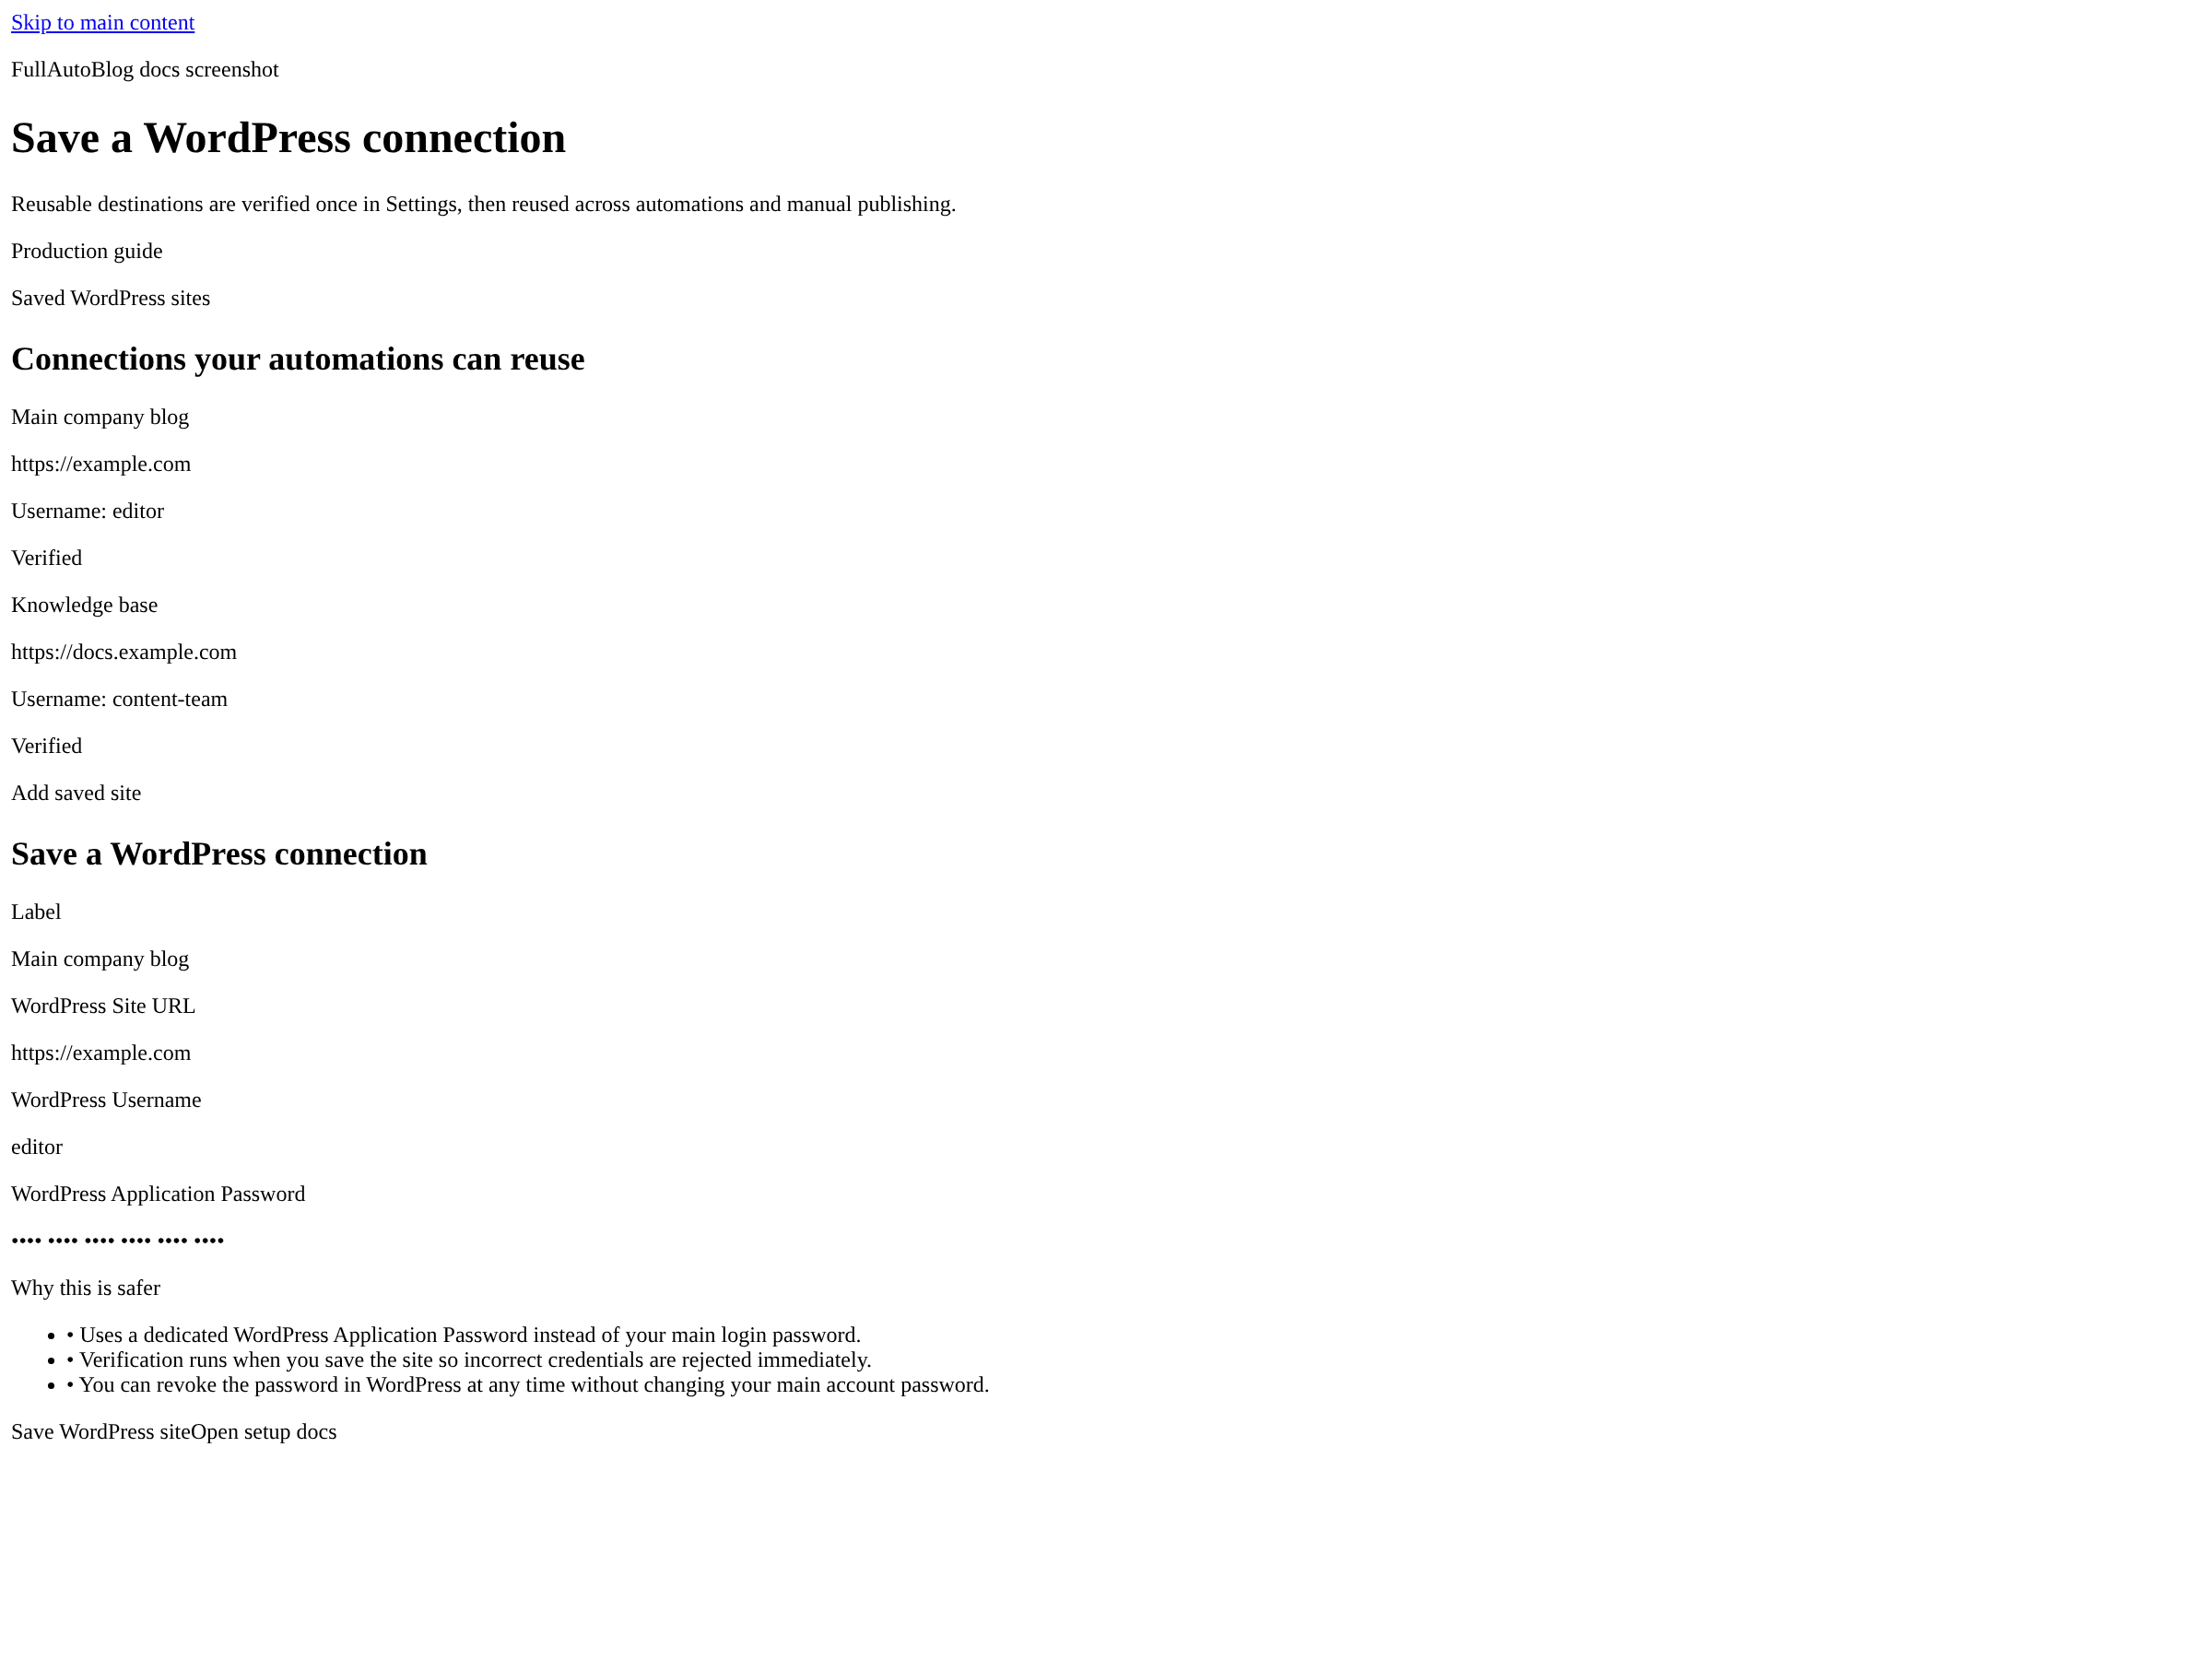
Categories are optional, but they help keep published content organized from the first run.
Launch settings decide how often the automation runs, how long the article should be, and how WordPress receives the result.
Step by step
1. Pick a source workflow
Choose RSS, URLs, keywords, or preset niche content based on how new topics should arrive.
2. Select the publishing destination
Choose one of your saved WordPress sites and optionally set a default WordPress category.
3. Finalize cadence and image policy
Set run interval, word-count floor, draft/publish mode, and the featured image source before launching.
Copy this config
Recommended first automation
A conservative starting point for a first production-safe launch.
Run every: 6 hours
Minimum words: 1200
Post status: Draft
Featured image: AI image enabled
Category: Site default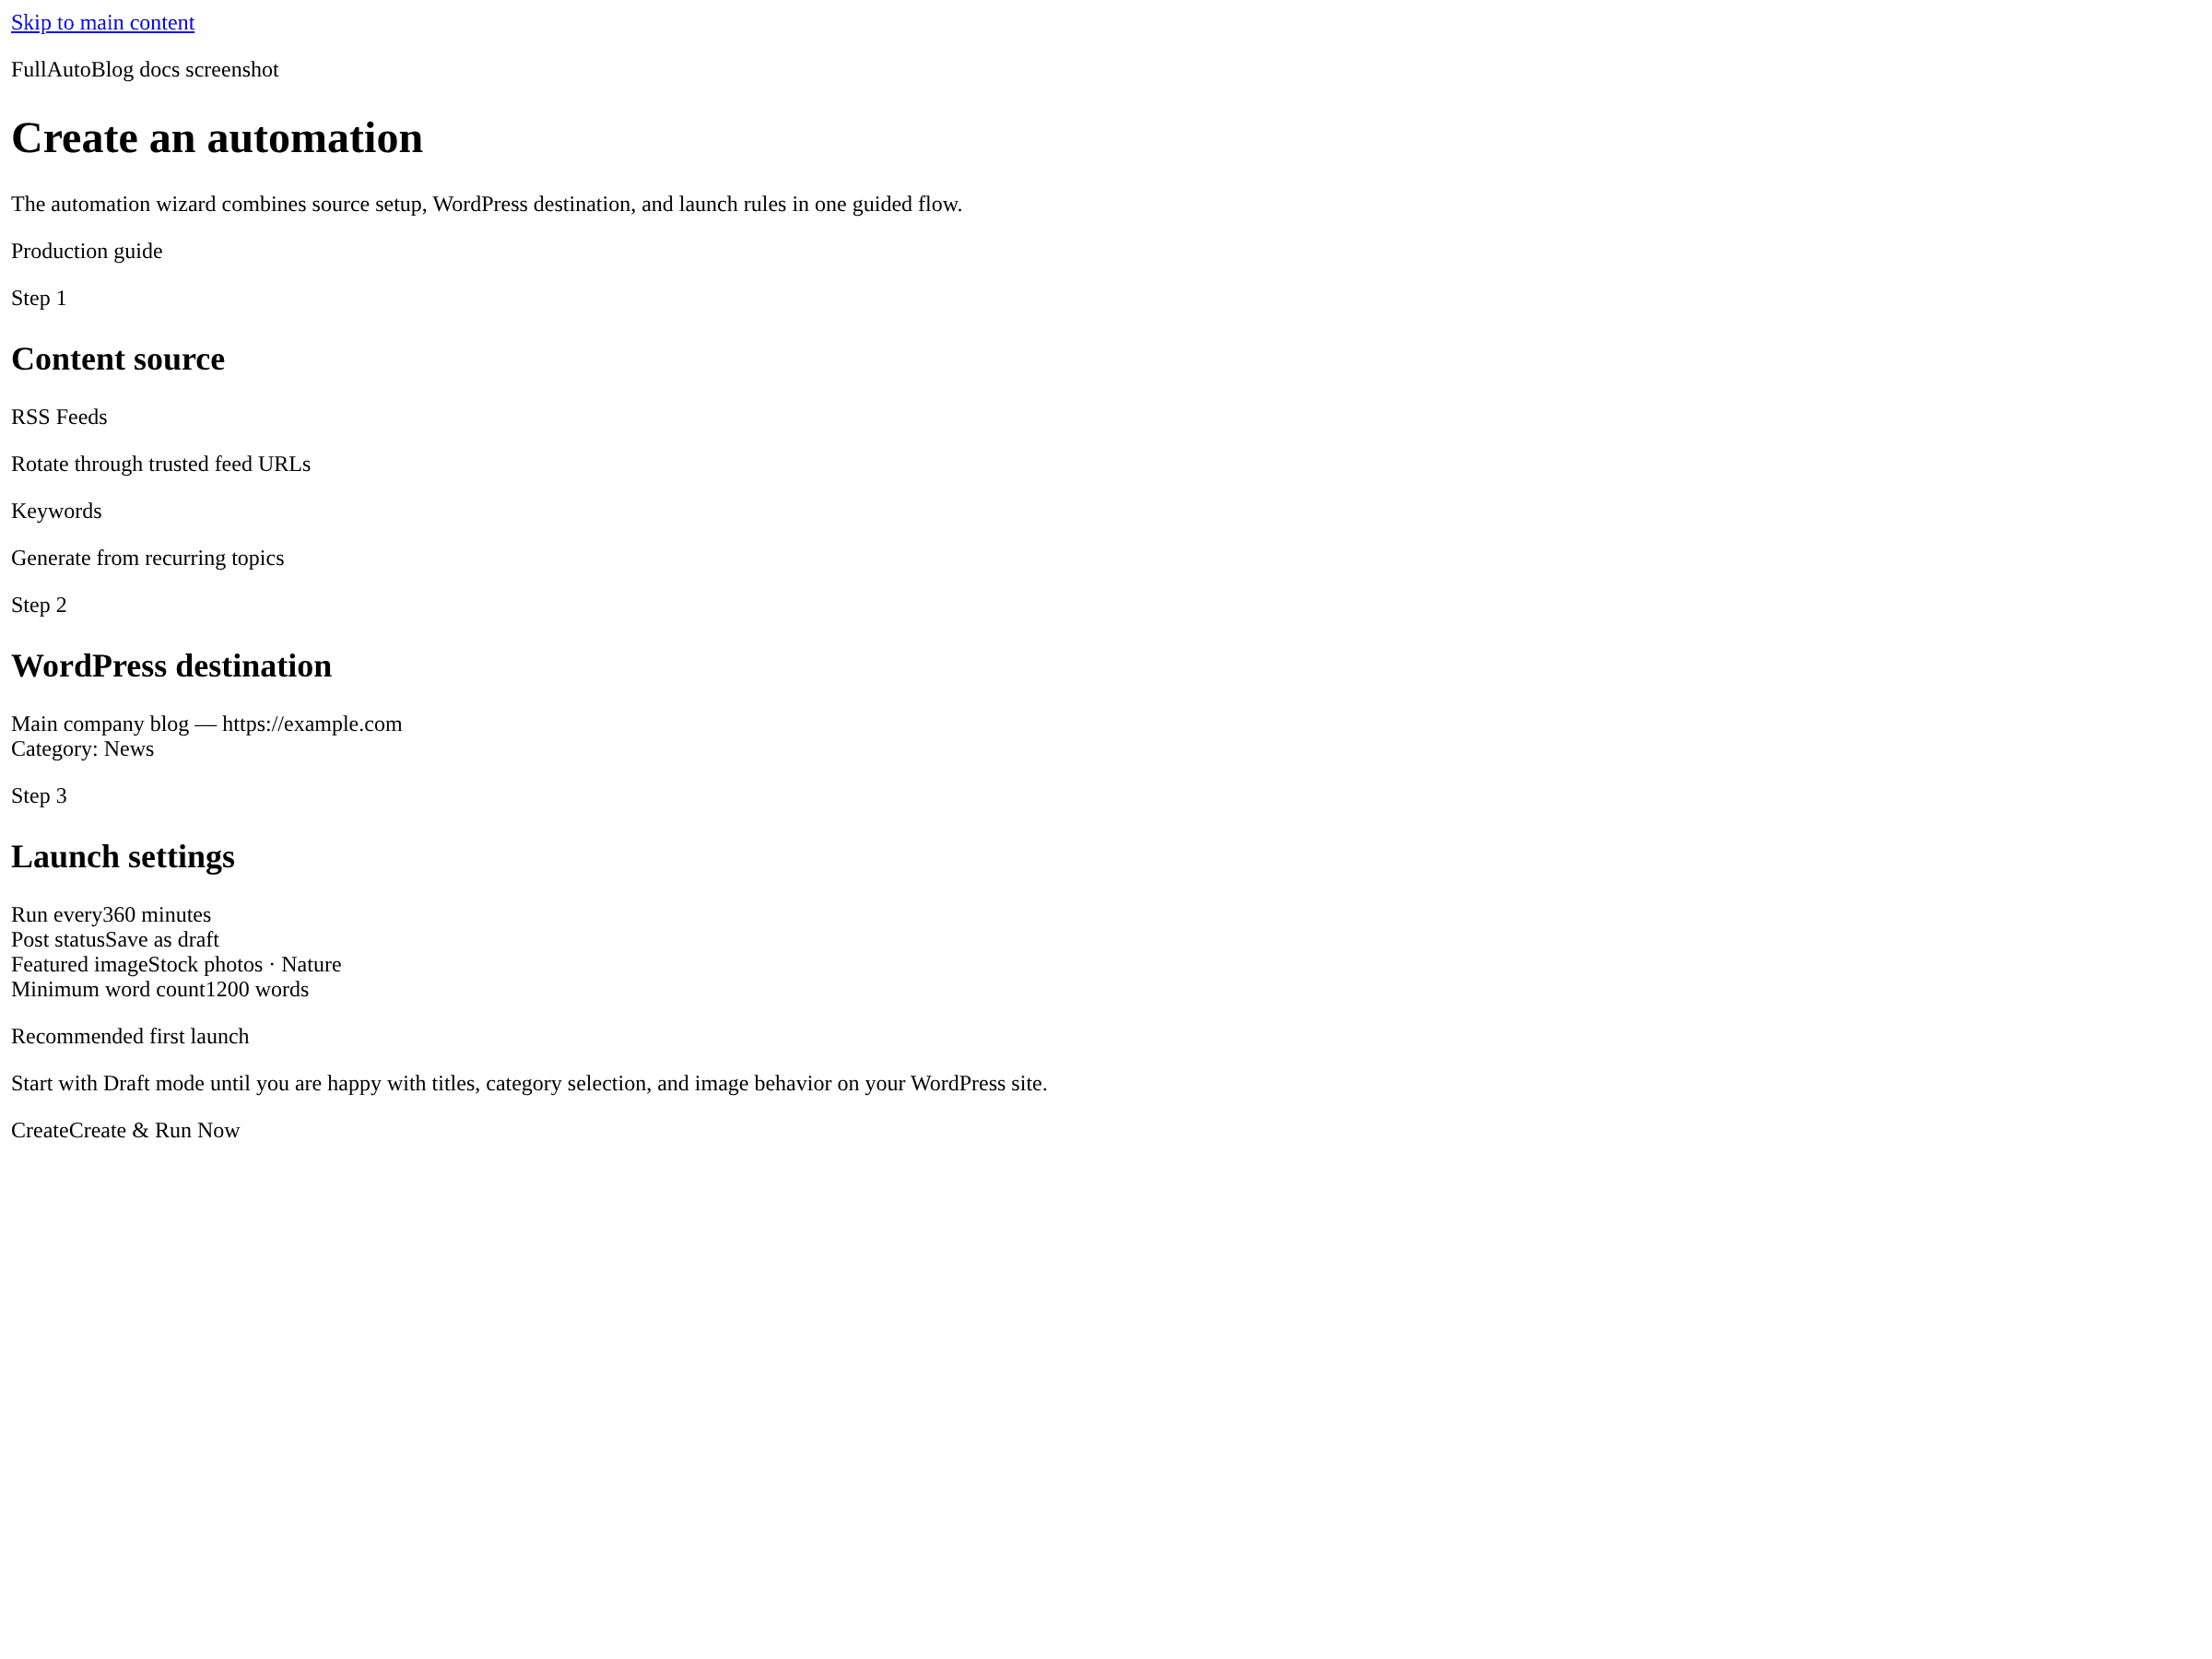
Article Studio is the fastest path when you want a single article without creating a recurring automation.
Step by step
1. Choose generation mode
Topic-first is best for fresh research; URL rewrite is best for transforming a single existing source.
2. Set article defaults
Language, word count, and tone shape the result before generation starts.
3. Review before publishing
Each generated article lands in your dashboard so you can inspect, edit, and publish manually.
Copy this config
Article Studio starter brief
Copy this structure when you want a fast one-off draft with manual review.
Topic: Best coffee gear for small apartments
Language: English
Target length: 1400 words
Tone: Clear and practical
Publish mode: Draft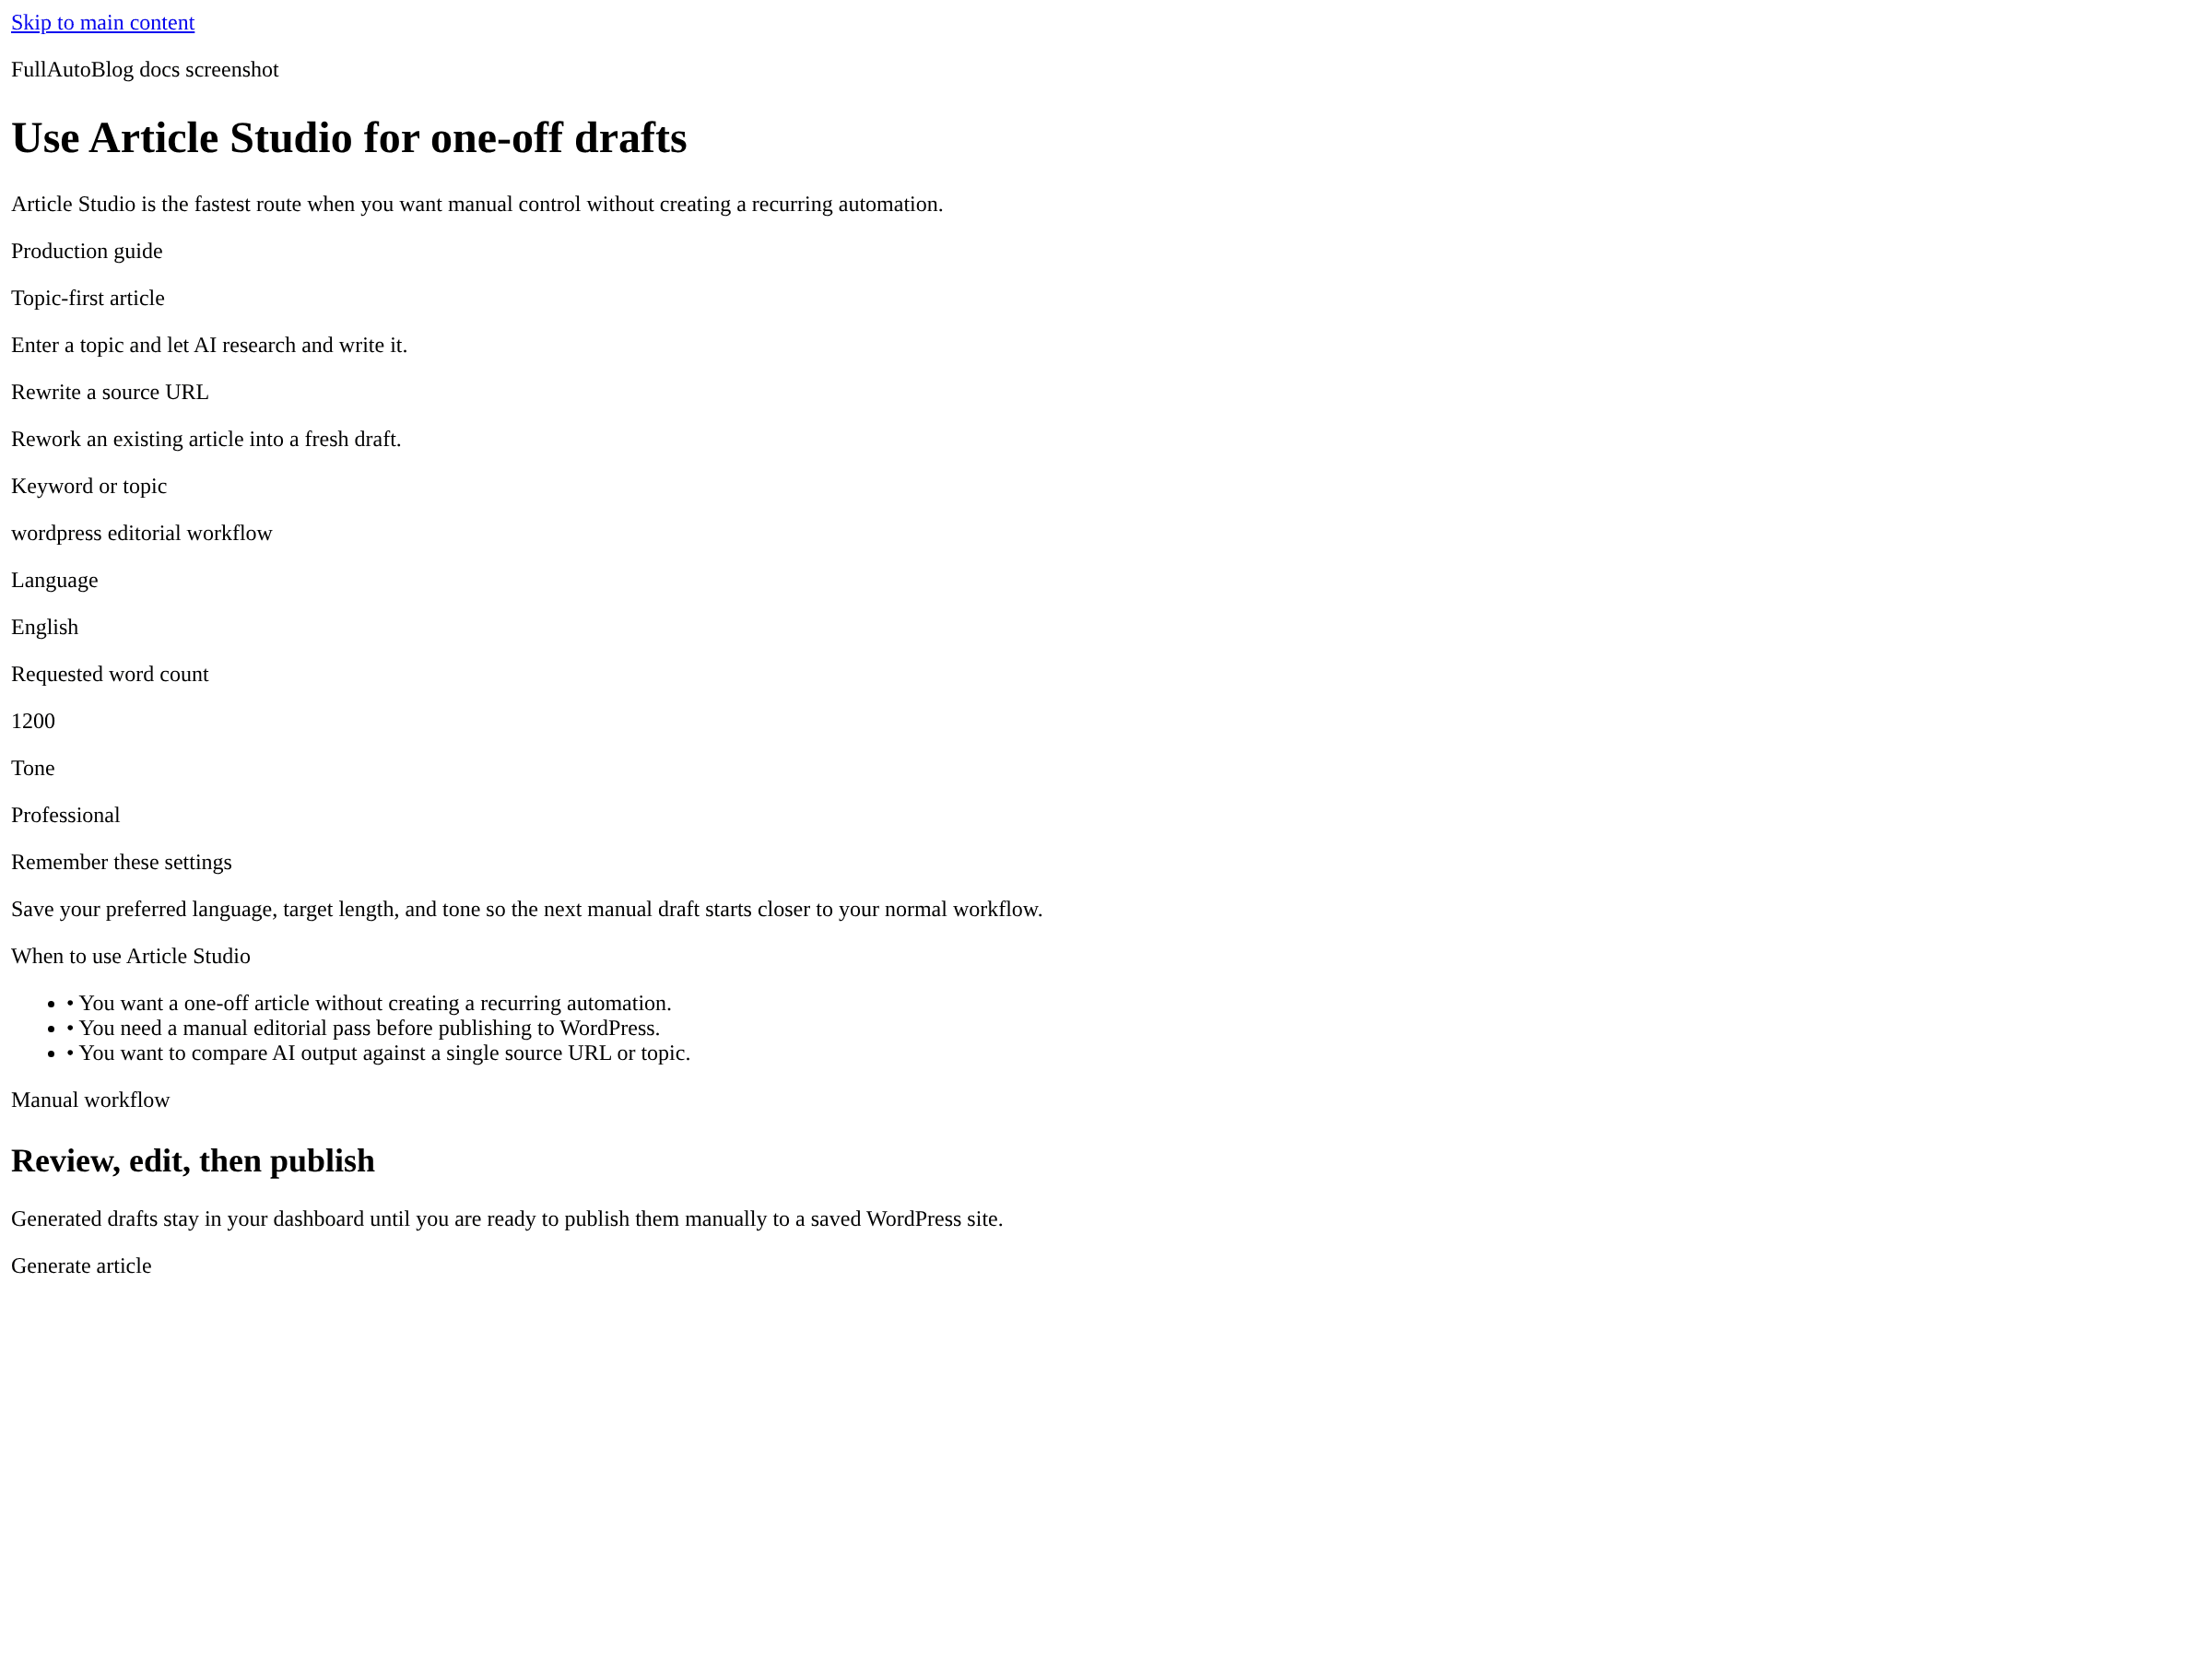
Ready to build
Keep this guide open as you connect WordPress, choose a source, and decide whether drafts or immediate publishing fit your site.